Sprouts |
|
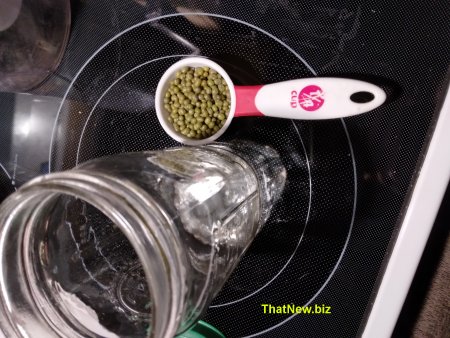
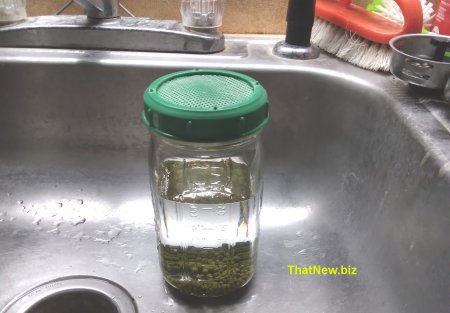
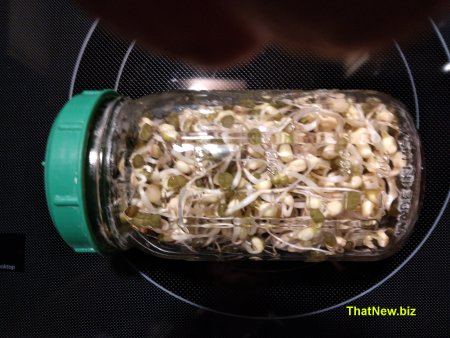
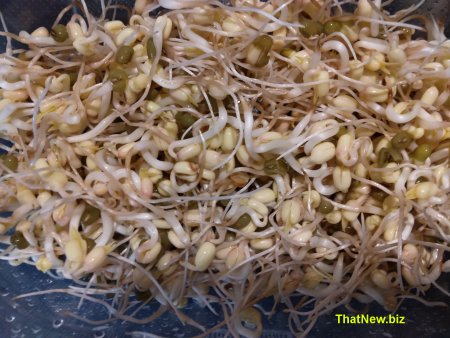
Mung Bean Sprouts are easy to
grow. All you need is Mung Beans, a jar with a lid that you can drain off the water.
|
|
Time to plant onion seeds. |
|
| This is the time of year to start planting
seeds in New York where I live. I planted these seeds about 2 weeks ago. Onion seeds need
to be planted by April 1 to get a good start. I planted the same type as I did last year.
Thank you for stopping by. |
|
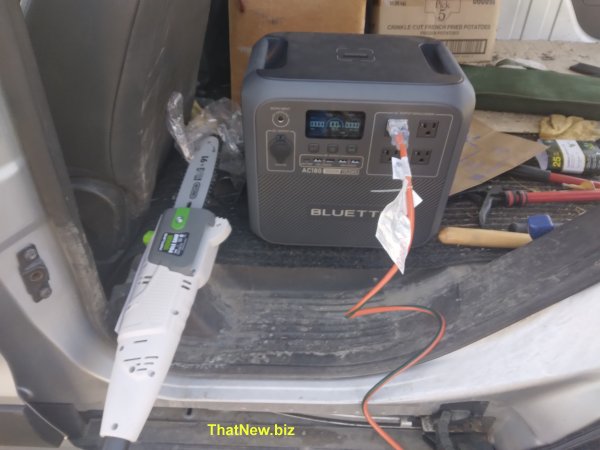
Prune over grown fruit trees. |
|
| I haven’t been able to prune my fruit trees over the last 5 years because of my health. I needed to cut out some large over grown branches. I have an electric pole saw to use. I don’t have any electric at my garden lot. This is where my Bluetti AC180 came in handy. It is easy for me to handle and put in my van. I bought the AC180 as a backup to run my refrigerator. This size will run my refrigerator for more than 24 hours.
|
|
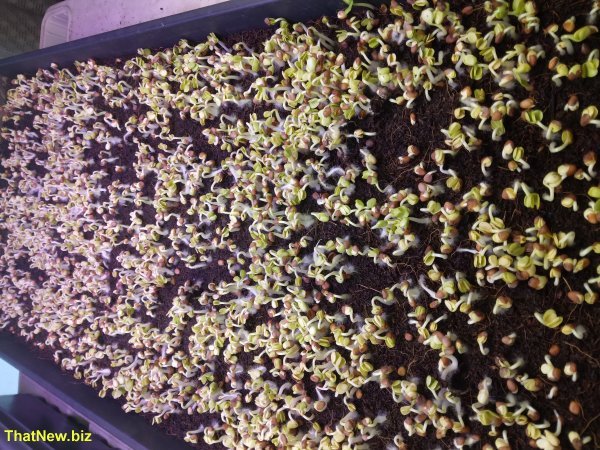
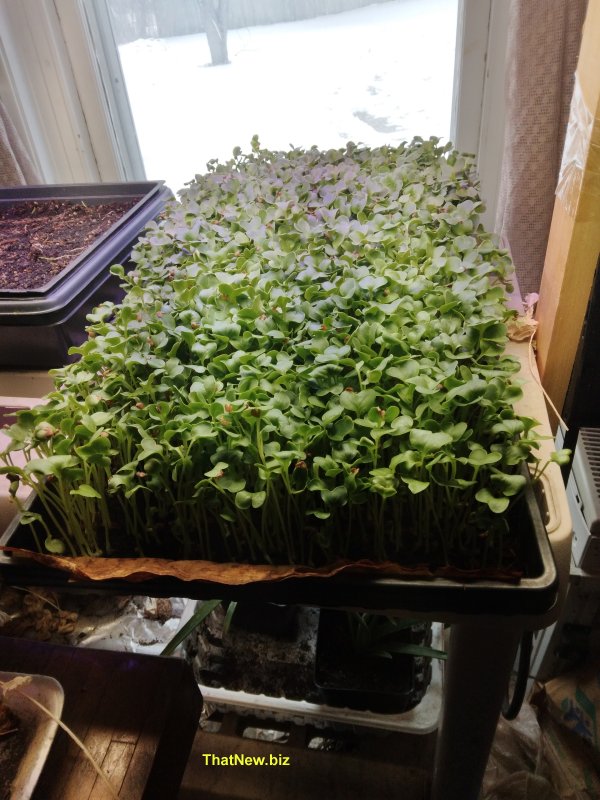
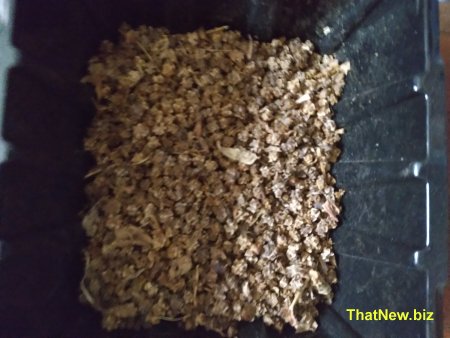
Micro Greens |
|
I have been growing micro greens and sprouts at this time of the year. Here are some radish micro greens after 3 days with weight on them to cover the seeds. This is just after I removed the covering weight.
|
|
2025 |
|
This is the time to plan on what you are going to grow this year. Some people will be growing money with the stock market. Some people will be trying crypto and some silver and gold. Some people will be growing a new business. I plan on doing some of those. I will spend more time on growing food.
Now is the time to get started making this year a more
prosperous 2025.
Buy and sell XRP,and Bitcoin on coinbase advanced |
|
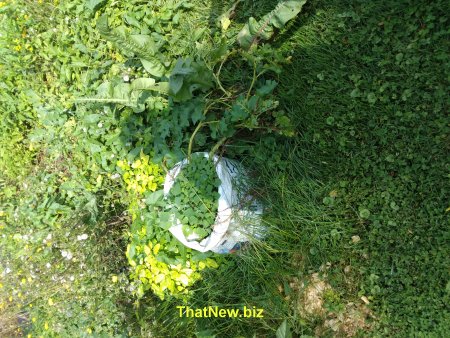
Potatoes |
|
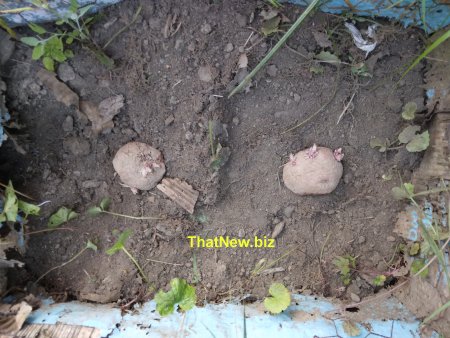
| This year I planted a couple potatoes in a
box I also planted a couple in a feed bag. It was a very busy year for me. I did water
them a few times but the weeds over grew them.
Have you had any luck growing potatoes this way? |
|
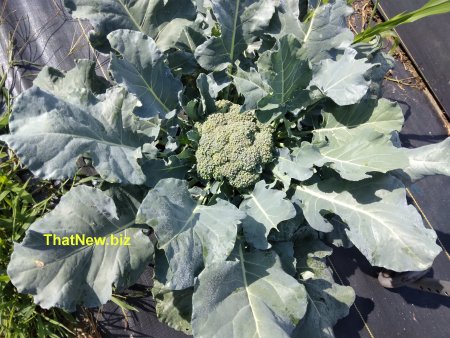
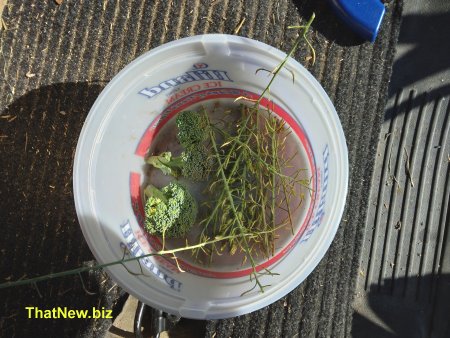
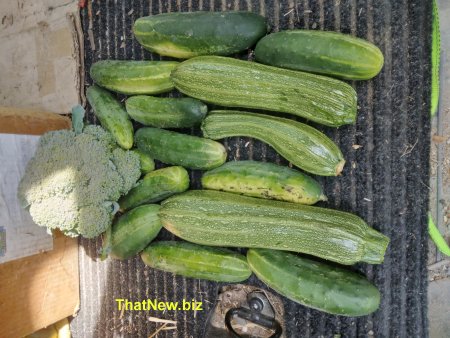
Broccoli |
|
| This year I planted Broccoli Destiny Hybrid
seeds. They said it is a vigorous, emerald green in color, and produces nice central heads
3-5” wide. Like many Italian, it produces numerous side shoots. An excellent choice
for the home gardener. This was the best broccoli that I have ever grown. Each plant did
produce a nice center head.
Broccoli is believed to be one of the healthiest vegetables because it is nutritionally rich in phytochemical compounds, fiber, antioxidants, and vitamins, There is several recipes for broccoli on the internet. I always add it to my stew when I make it. |
|
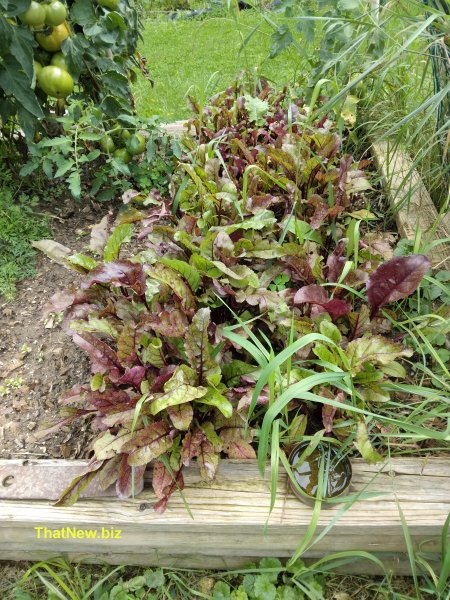
Beet greens |
|
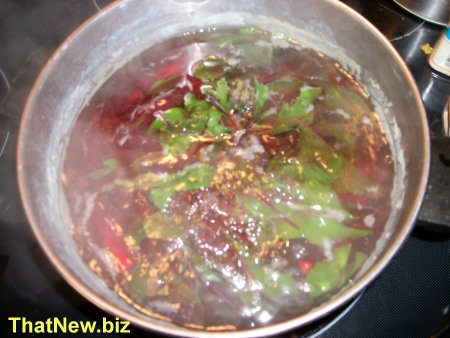
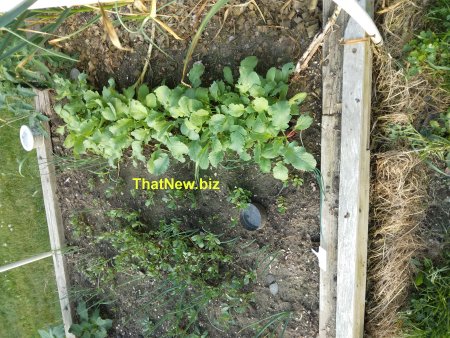
| After I harvested my garlic this year near
the end of July, I decided to plant some beet seeds in that spot. I felt I could at least
get some beet greens even if I don’t get any beets. In October I had a nice bunch of
beet greens so I thinned them out.
I just added a small amount of vinegar to them in a bowl to eat them.
|
|
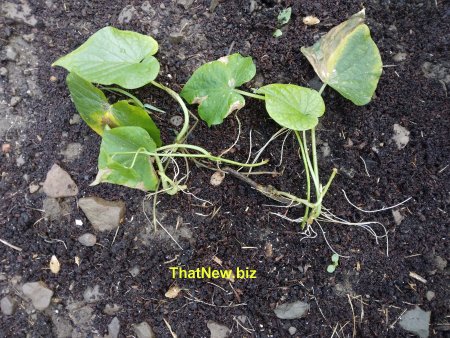
Sweet Potatoes |
|
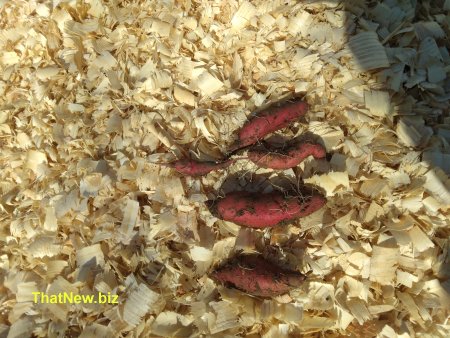
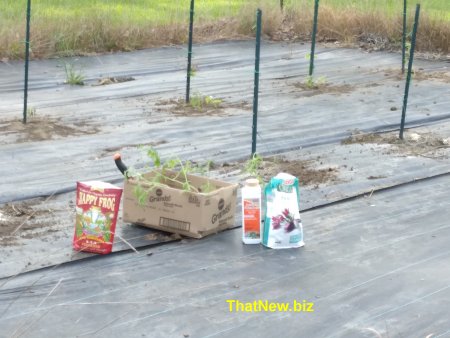
| As I told you in my blog, Sweet Potatoes need a warmer area to grow than what I have here in NY. I did plant some slips this year and dug them up to see what I got. Here is what I gotten from my plants Just 5 small Sweet Potatoes.
If I could plant them a bit earlier and had them in a spot
where they would get better sun they would have done better. I might try growing some
again because I would like a smaller Sweet Potatoes than the very large ones in my local
store. |
|
Planting Garlic 24 |
|
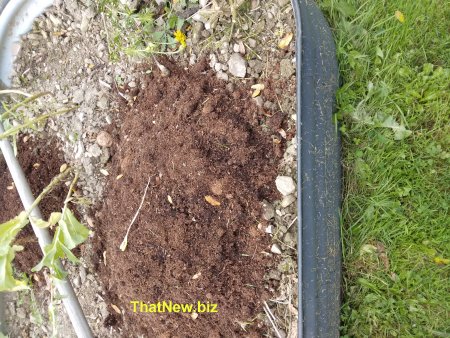
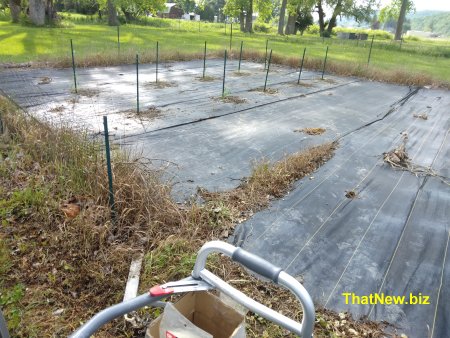
| This is the time to plant garlic here in NY.I
planted it on 10/9/24 this year. Because it gets cold for a long time, hard neck garlic is
the type that’s best to grow here. This year I am planting the garlic in my new
raised bed garden. The first thing I do is add some worm castings to the area where I will be planting the garlic.
|
|
Honeynut Squash |
|
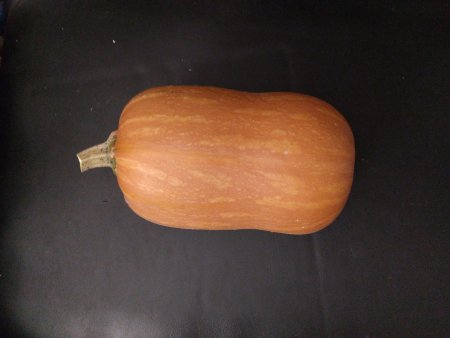
| On the vine, honeynut squash first has a dark
green skin and as they ripen turn to orange in the last two weeks of the process. When
picking, choose one that are the most orange first.
|
|
Frost |
|
| This morning I had 28f the first day with
frost. 10/11/2024 Now is the time to pick all the things I have left in my garden that the frost will kill. Just some of the things I will pick today are tomatoes, summer squash, and green beans. The root vegetables can still stay in the ground and some lettuce plants can take a frost. This is also the time to get your garlic planted if you have not done that yet. So the next few days will be busy for me.
|
|
Peppers |
|
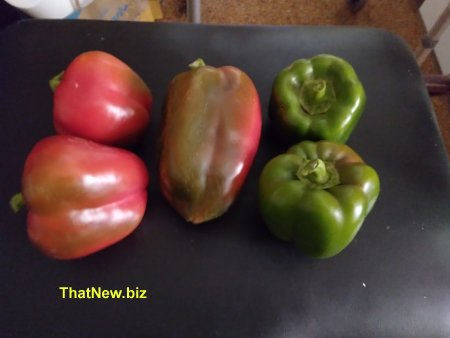
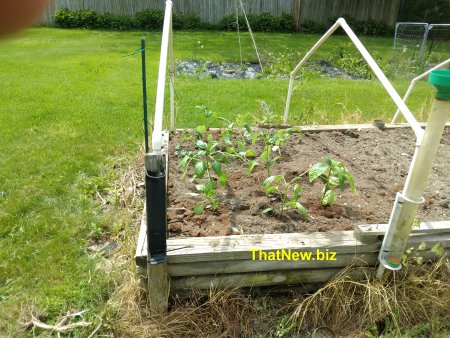
This year’s peppers had a mixed result. I had some good large peppers and some that did not do well. It was not all the plants fault. I had planted the ground cherries too close to them. I also had a tomato plant too close. They shaded the plants so the 2 outside rows did now do well.
|
|
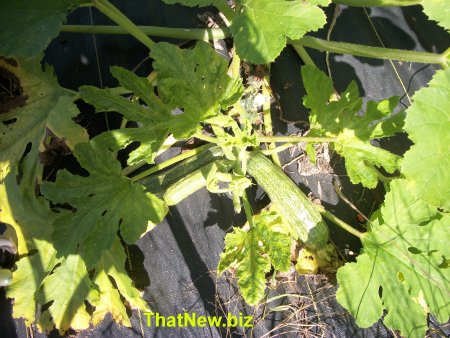
Zucchini |
|
| If you are new to growing food and looking
for something that could give you a lot of food, try growing Zucchini. Zucchini fruit is a
green summer squash that grows on a vine.
|
|
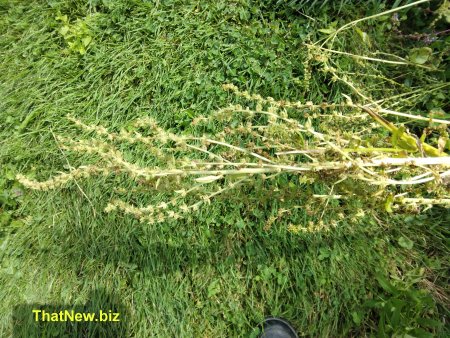
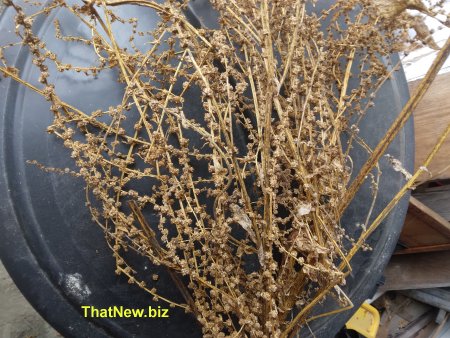
Swiss Chard Seeds |
|
| Some times when you are gardening you get a
chance to do something that you did not plan. This year I was unable to get to one of my
garden spots. I had some health issues and the weather did not help. Last year I had swiss
chard growing in that garden spot and it started growing. I was able to pick a few leafs
off the plant but it soon went in to the flowerings stage. Some plants produce seeds their
second year like swiss chard and beets. I had a lot to do with keeping up my other garden
spots and just let it go. Some of the swiss chard went to seed but soon tipped over.
|
|
Wrong Time of Year |
|
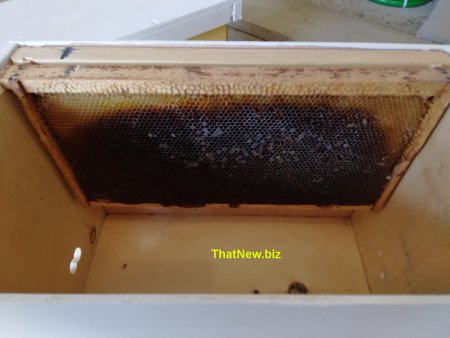
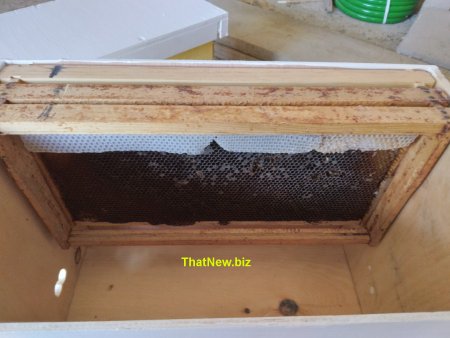
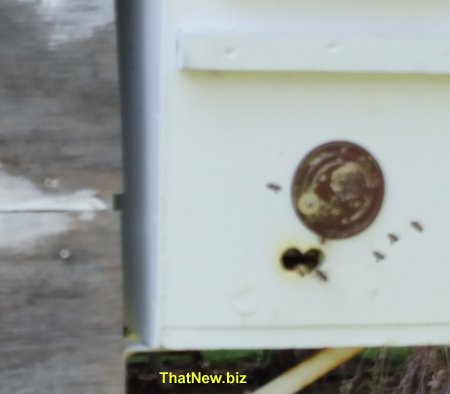
| I was out back near my swarm trap on
September 3rd and noticed several bees around it. This is not the time of year that you
would expect a bee swarm. The next few days I went out to see if there was any activity at
my swarm trap. After checking 3 days I found that yes a swarm had moved in to my swarm
box.
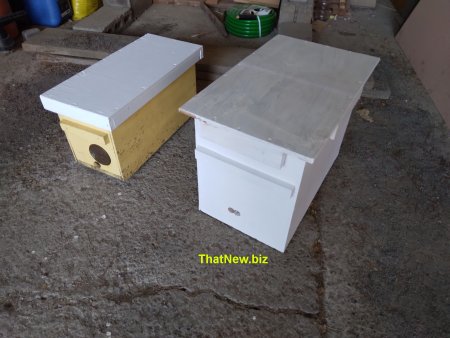
I would have been more excited if this happened in May or June. This is the wrong time of the year to get a swarm. The chances of get them to make it till spring is doubtful even if you feed them. The plus is, it shows the swarm trap I made works. ( You can see where I made this box earlier in my blog. )
Become Self Sufficient on 1/2 Acre
|
|
|
|
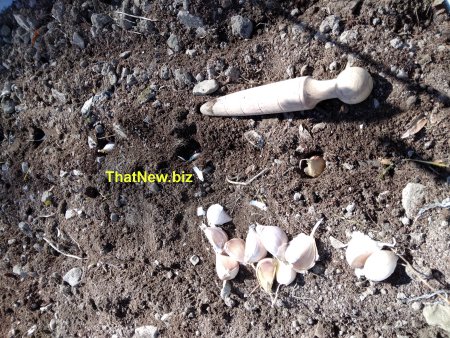
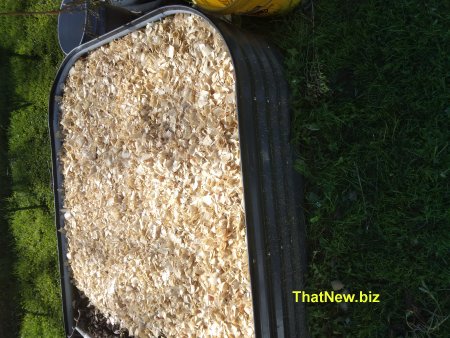
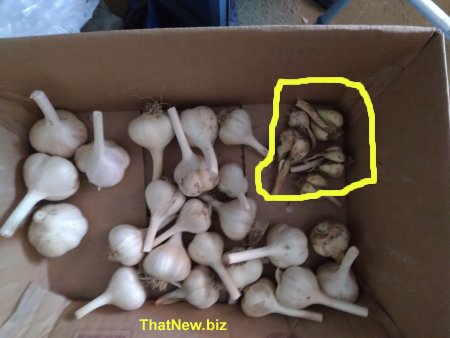
| After I let the stem dry out I cut the stem
off leaving about 2 inch. Then cut the roots off and took of the first outside layer
leaving a nice clean bulb. I will now place them in a mesh bag so they can dry more. I
will hang them in a cool dry place to store until I need to use them. Here is what I had
for my garlic this year.
|
|
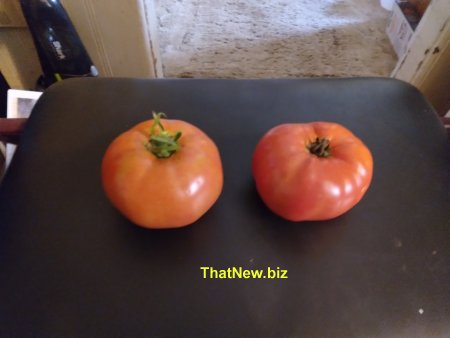
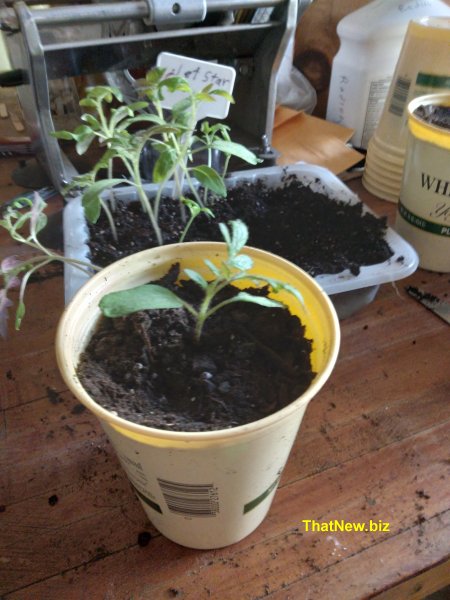
Jet Star Tomatoes |
|
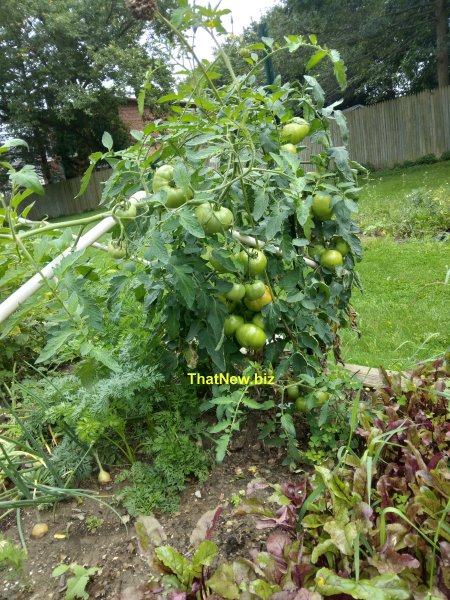
| The jet star tomatoes I planted this year
grew well. The jet star plants were just loaded with large green tomatoes.
If you don’t mind growing hybrid tomatoes it is a good choice.
a hidden survival permaculture course for preppers |
|
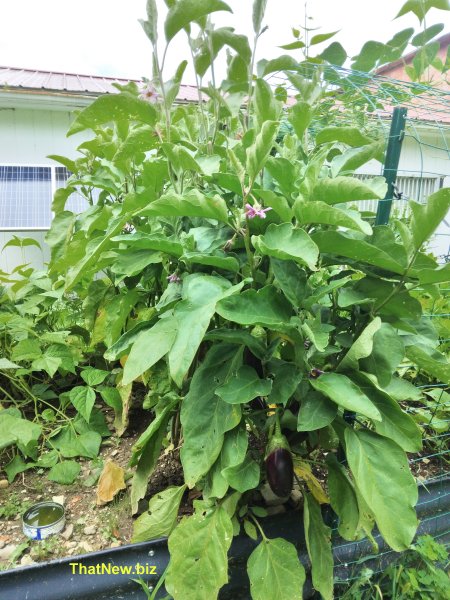
Eggplant |
|
This year’s eggplant grew quite well and I am getting several set on the plants.
I don’t know much about eggplant because we never had them to eat when I grew up. I looked at the ones at a local store to see what they looked like. Two on my plants look the size they were selling at the store. I cut them off and took a photo of them here.
DON'T BE LEFT IN THE DARK Bluetti Power Sale |
|
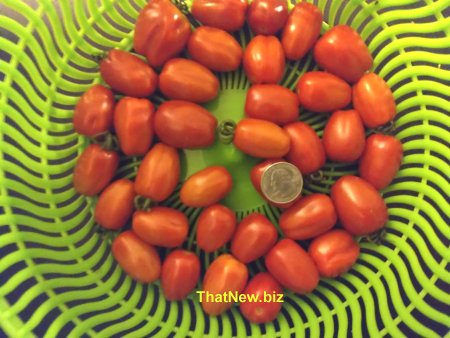
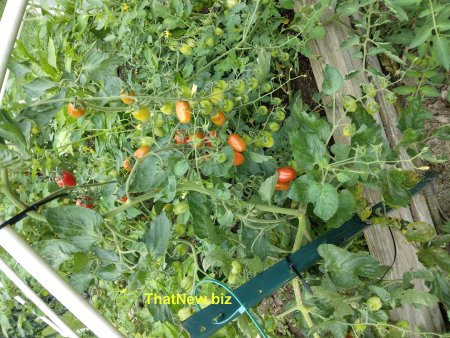
Jelly Bean Tomatoes |
|
This year I planted some seeds Jelly Bean Tomatoes for a friend. I was thinking it would be good to try something for snacking tomatoes when I was working in the garden. Most years I planted current tomatoes for snacking. The Jelly Bean Tomatoes turned out to be a bit bigger than I was expecting. They are bite sized but on the larger side of bite size.
NEW Compliant Survival Offer from the creators of Air Fountain and Backyard Liberty. |
|
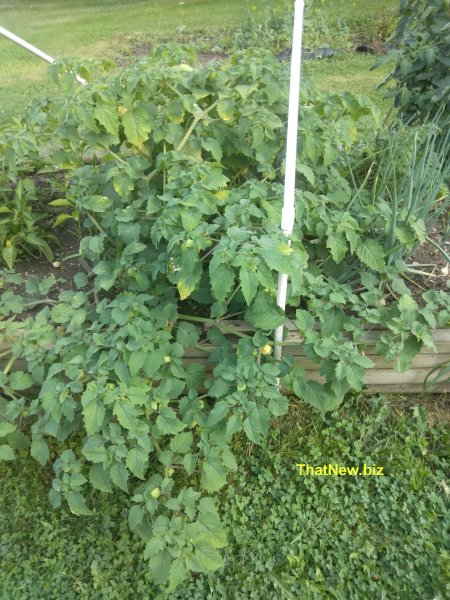
| Ground Cherry | |
| I planted these Aunt Molly’s Tomatillo
seeds and didn’t know much about them. I just wanted to give them a try. To my
surprise the plants grew much bigger than I thought. These plants are about 3 feet wide.
Become Self Sufficient on 1/2 Acre
|
|
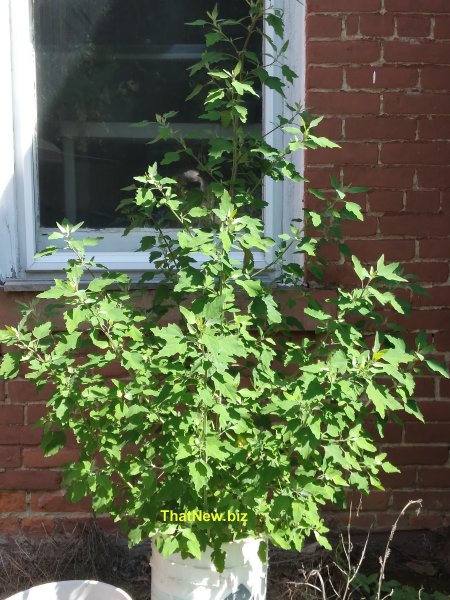
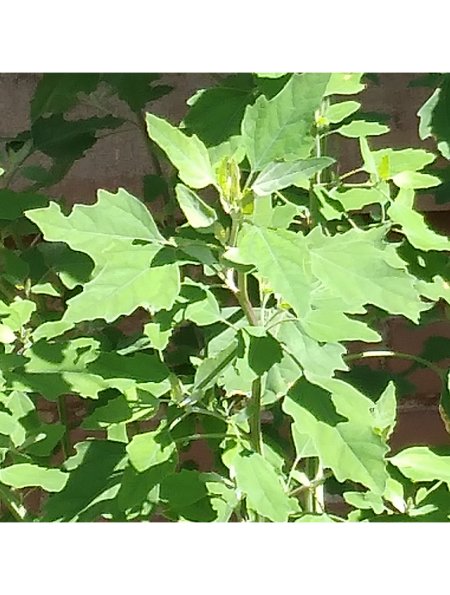
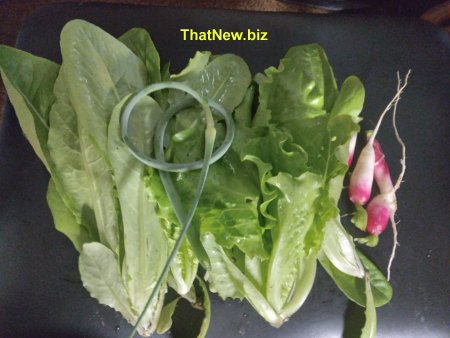
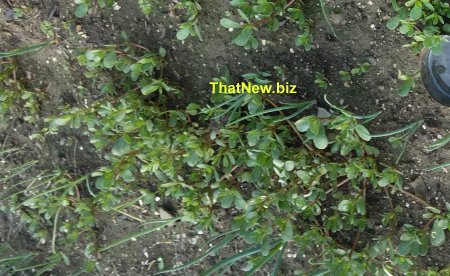
Lambs quarters |
|
| Lambs quarters You may have this weed growing in your
garden around your fence or almost any place.
Check out Purslane under salad below for another weed that you can eat. |
|
Baby Steps to Gardening |
|
| If you are new to gardening you need to know
that everything in gardening does not go as planned. Last year I planned on growing a lot of Cucumbers, Broccoli and Zucchini as some of the things I planted. All 3 of these failed to produce what I had expected. I planted the Cucumbers three times but no Cucumbers. The Broccoli grew for a while but just stopped growing and I don’t know why. The Zucchini only produced a couple and died. Right next to the Zucchini I had planted Butternut Squash and they grew fine and produced a record number of squash for me. Something just happen and I don’t know why. Growing food is a lot of work. You need to tend to them often as they grow. Weeding and checking for pest is important. If you are new to gardening it is best to plant a small number of things to start with. Some people start with a large garden. They can soon find they are overwhelmed with weeds and pest problems. Take baby steps so you can learn before you jump in big. Green beans, radish, swiss chard and leaf lettuce are a few easy things to start with. With the green beans you need to pick them at least every other day when they start having pods. If you let them get too big the plants can stop producing and die. I am just starting to get some of the things that I had
trouble with last year.
Become Self Sufficient on 1/2 Acre |
|
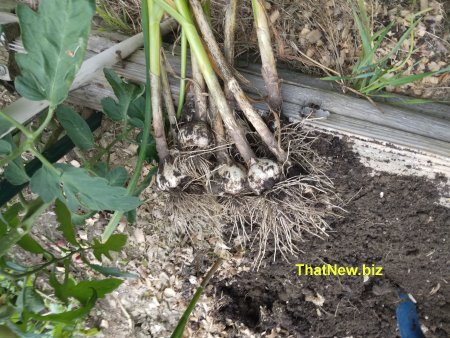
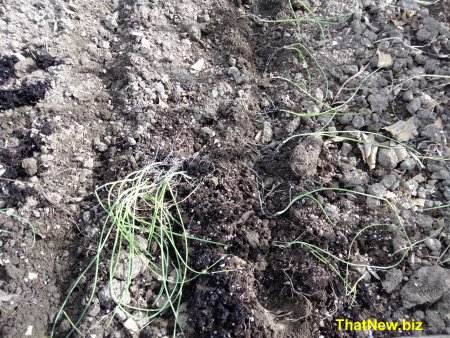
Garlic |
|
| Here is some of the garlic I pulled 7/9/24.
The weather said it was going to rain for the next 5 days.
We learn sometimes as we grow. |
|
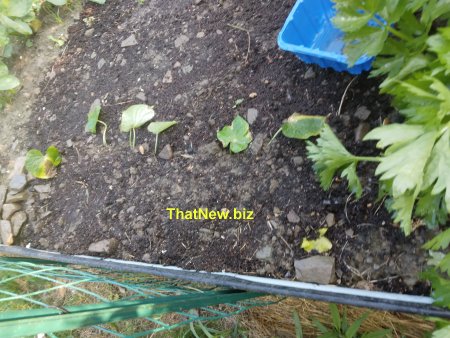
Sweet Potato |
|
| Last year I showed you how to grow sweet
potato slips. I tried to keep the plant growing till this summer. I was able to keep it
going till now. Here are the slips I got. They are not very good looking but I will give
it a try.
|
|
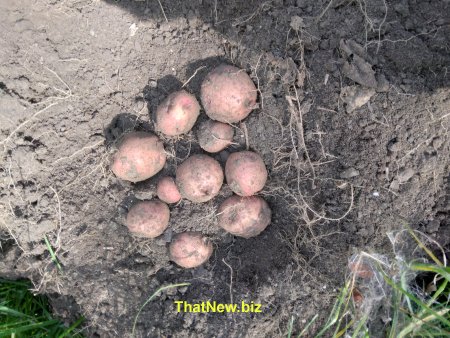
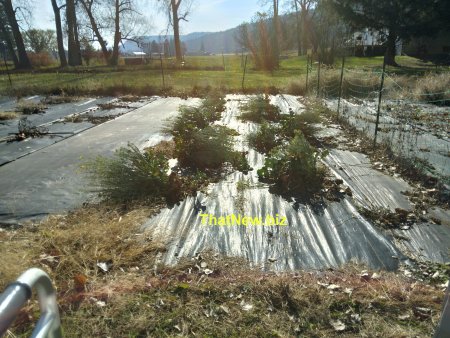
Potatoes |
|
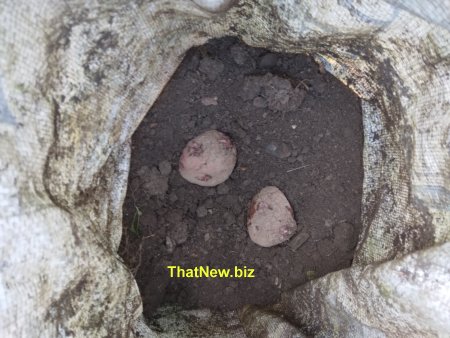
| This year I am going to retry growing
potatoes in a box and a feed bag. Last year I didn’t get very many but found the dirt
to be dry. Also I didn’t use any fertilizer. I saved a couple store bought potatoes
back in January to let them sprout so I could use them. They didn’t sprout. I then
found out that they spray something on the potatoes so they don’t sprout. I wonder
what harm that might do to us as we eat them. I got a late start planting the potatoes June 26th. I got a couple potatoes from a farmer that had sprouted and used them. This year I am going to use some fertilizer and try to give them more water.
Become Self Sufficient on 1/2 Acre |
|
Fresh Salad |
|
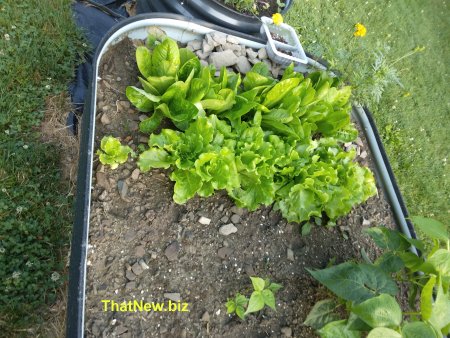
| This week 6/21/24 it has been very hot, so a
nice fresh salad was on my table at super time. Tonight I am going to make a large salad
topped with canned chicken and ranch dressing. I went out to the garden for the fresh
vegetables. I planted Little Gem Romaine and Nevada Batavian lettuce this spring.
|
|
Tomato Plants |
|
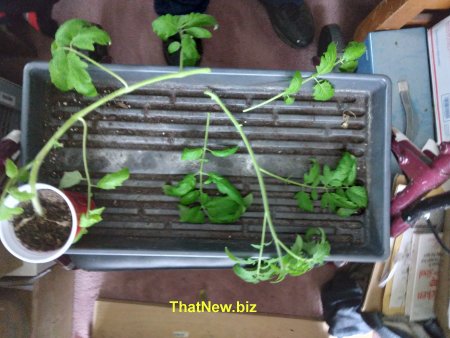
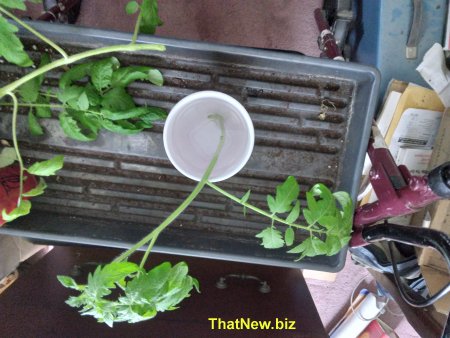
| You planted your tomato plants in your
garden. You had a few leftover. You keep these just in case of a late frost or something
else happen to your plant. Well that is what I did. Then a few weeks later something dug
up 4 of the 10 plants that I planted. By that time the plants I saved were big and leggy.
|
|
Celery |
|
| I had some celery seeds so I planted several
in some trays to see if they would grow. Several of the seeds did germinate in the tray.
|
|
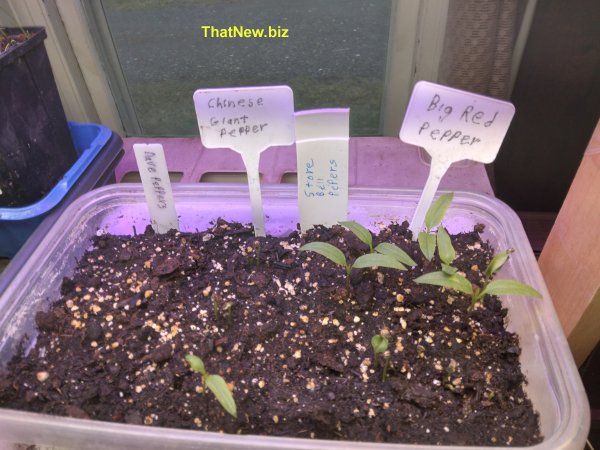
Peppers |
|
I planted my peppers outside on 6/28/24 in my old raised bed garden. The first row I planted the ones where I had saved seeds from a store pepper. The second row was the Big Red Sweet peppers. The third row was the Chinese Giant organic peppers. I did get 4 of the king of the north to germinate but they took a long time and are a bit small to plant outside. I will give them a couple weeks then plant them in the fourth row.
Quality power stations. A great Fathers Day gift. |
|
Tomatoes |
|
| I planted 2 rows of 5 plantes. One row Amish
Paste and one rowJet Star.
Quality power stations.
Get yours before the Biden tariff on batteries. |
|
Eggplant |
|
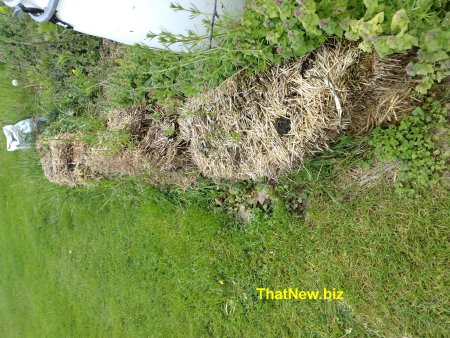
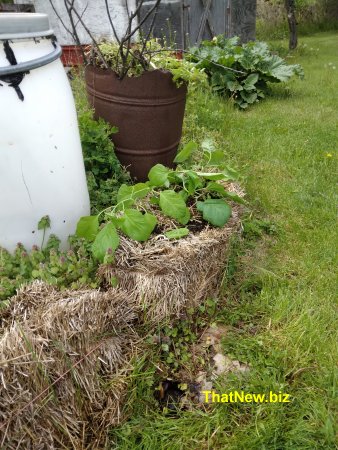
| Last year I planted fingerling eggplants.
They did quite well in my straw bales. This year the straw bales have broken down a lot.
|
|
Onions |
|
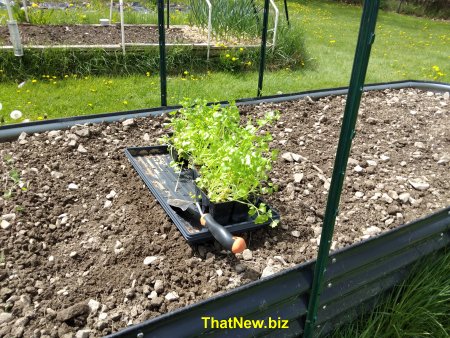
As I was told, it is time to plant the onion seedlings outside. Plant the seeds inside on April 1. Plant the seedling between May first and the 15th outside. I planted them outside on May the 7th . I would have said they were to small but here they are.
|
|
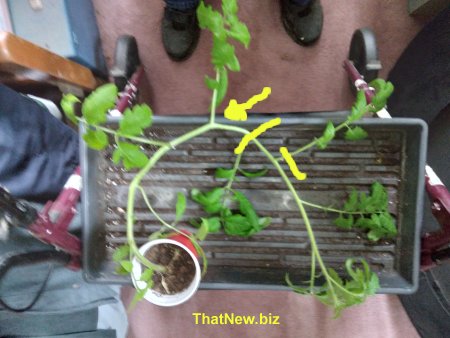
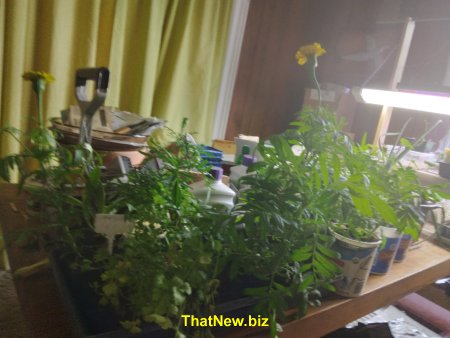
Marigold |
|
When you get old, things happen that keeps you from doing some of the things you should do. The last couple weeks were like that for me. I made sure I watered my plants but put off putting some in larger containers. That is what happened to my Marigold plants. A couple got so big they were against the grow light. That is why you see a cricked neck near the top of a couple of them.
|
|
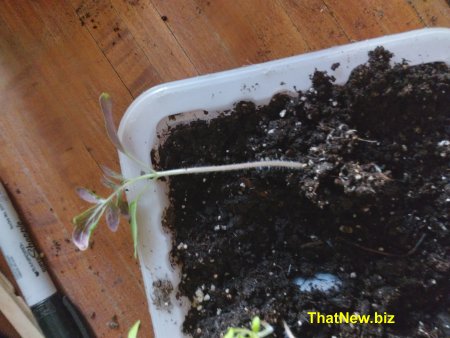
Transplanting Tomato Seedlings |
|
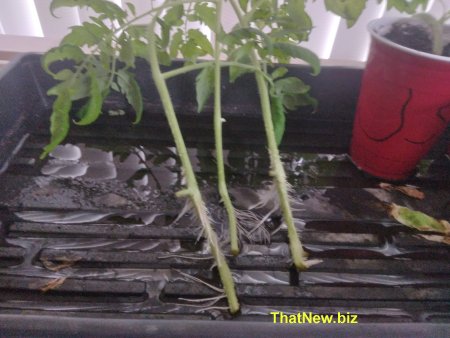
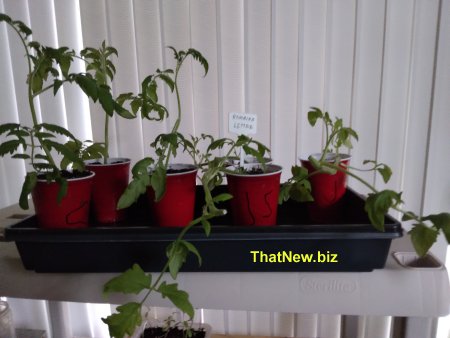
The tomato seeds I planted are now ready to transplant. ( 4/24/24 ) I am going to use some Solo cups and yogurt contaners I have to transplant the tomato Seedlings into. The first thing I need to do is put some holes in the bottom of the cup. Some people use a soldering iron to do this. You will notice that the tomato seedlings have some fine hairs on the stem. These hairs will become more roots.
Do you already see having Juice Tasty Tomatoes |
|
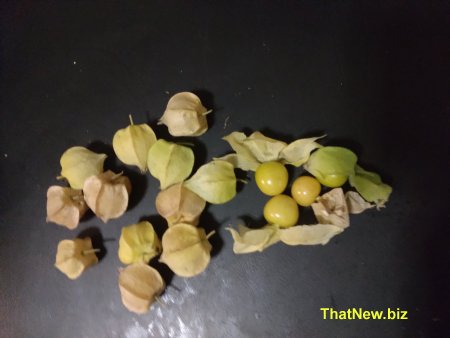
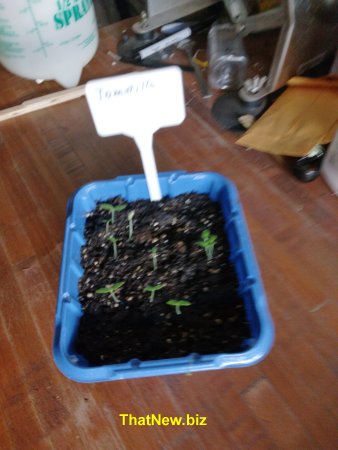
| Aunt Molly’s Ground Cherries. | |
| I have been trying something new
each year that I have heard of. This year I am going to try Aunt Mollys Tomatillio or
called ground cherries. They are started indoors in early spring with bottom heat, and
transplant out in warm weather about the same as tomatoes. I planted the small seeds about
2 weeks ago. They are up already.
|
|
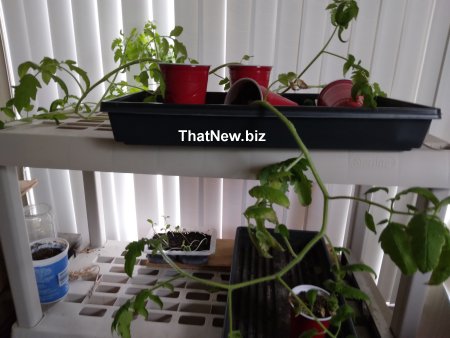
Tomatoes for 2024 |
|
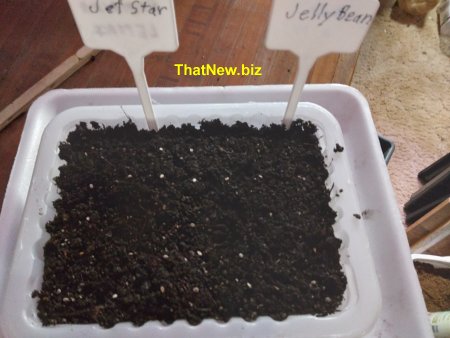
| This year I was asked if I would grow some
tomato seedlings for a friend that was going to be away for a couple weeks right when he
would plant his seeds. I decided to grow the 2 types he wanted along with one more for my
garden. The first 2 was what he asked for Jet Star and Jelly Bean. I am going to also grow
Amish Paste tomatoes. Jet Star Tomatoes Jet Star Tomatoes are crack-resistant and are popular in the northern states. They are also resistant to wilt. They produce large numbers of meaty low acid fruit. They are an indeterminate tomato. I planted 20 seeds of this type. Jelly Bean Tomatoes The jelly Bean Tomato is a Hybrid red grape size tomato. The fruit is perfect for snacking all summer long or adding to salads and raw vegetable trays. These clusters of tomatoes are resistance to cracks and disease making them a fun tomato to grow. It is an indeterminate tomato. I planted 10 seeds of this type.
Amish Paste Tomatoes Amish Paste Tomatoes are bright red
fruits grow to 8-12 ounces. This heirloom tomato has a juicy - meaty flesh, excellent for
sauce or fresh eating. It is an indeterminate tomato. I planted 12 seeds of this type. |
|
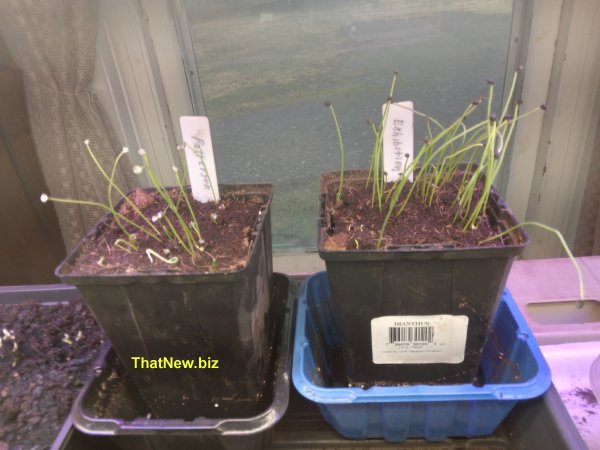
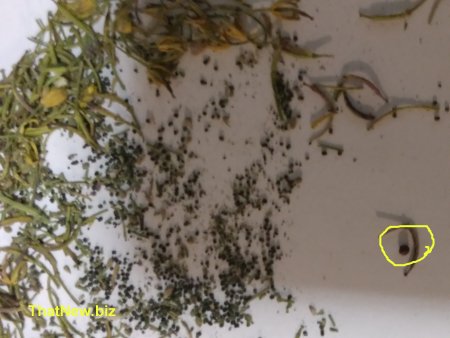


Onions |
|
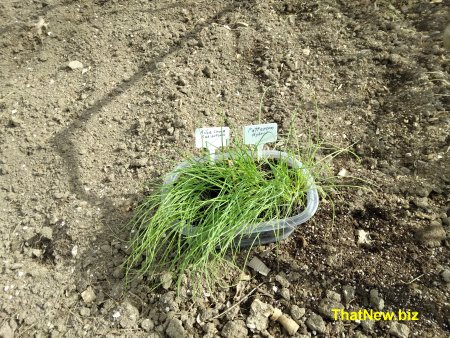
| I have not had much luck with growing onions from seed in
the past. I was talking to a friend and she said that she always grew onions from seed and
said it was easy to do. She has given me some info on how to grow onions from seed along
with seeds for the type onions she has been growing. First plant the seeds on April 1. Plant the seeds in seed starting mix (not potting soil). Have the seed starting mix 3 to 4 inches deep as the roots grow deep. Keep the seed starting mix damp but not over soaked. Spread several seeds out and cover them up 1/8 to1/4 inch deep over the seeds. Then give then a good spray of water to get them started. The Ailsa Craig Exhibition seeds are dark and hard to see in photo.
|
|
Sugar cake for bees |
|
In the late winter the weather can sometimes get quite warm. Just like many people get thinking we are having an early spring,the bees can also. The bees start flying and find some things and bring it back to the hive. The queen starts to lay more eggs. With them have low amounts of honey and the need for more food a hive can soon starve. This is when a bee keeper needs to give them more food. That is when we need to add a sugar cake to the hive. A sugar cake is added right on top of the frames in the hive so the bees can get to it easily. When the weather gets back to cold temperature you cannot feed them sugar water in a feeder because it is too cold. That is why you need to use a sugar cake to feed the bees. The last several days have had been as low as 11f and some days not getting above freezing. I want to do what I can to make the hive survive till spring. This last week I made up a sugar cake to feed the bees. I put it on the have Tuesday when the temperature got above 55f. I hope this will give them enough food to get them in to spring. I will add the other half in about a week when it gets above 55f. A sugar cake is made by mixing sugar in water and heating it up to a temperature so it will turn hard like a big piece of hard candy.
We will see if this keeps them going till spring. |
|
Peppers Transplant |
|
| It is March 22, time to transplant the peppers in to a
larger container.
Some great gifts ideas for your gardener friends |
|
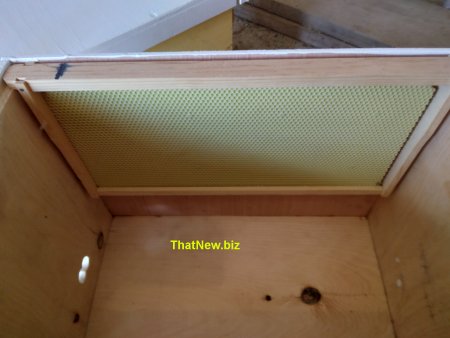
Bee Swarm Trap |
|
| During the spring a colony of bees can grow massively,
both in terms of number of worker bees and needed space. The available space becomes
smaller and smaller. The bees split up and part of the bees leave to find a new place to
live. Swarming bees are on their way to find a new home. Dr Thomas Seeley did a study on the size space in trees that bees lived in. He found that the space was between 30 and 60 liters of space. You can find out more about Dr Thomas Seeley from Cornell University Scout bees then go out looking for the new location to move into where it can begin its new colony of bees. That is where a swarm trap comes in to play.
|
|
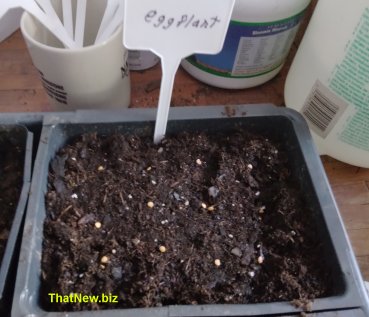
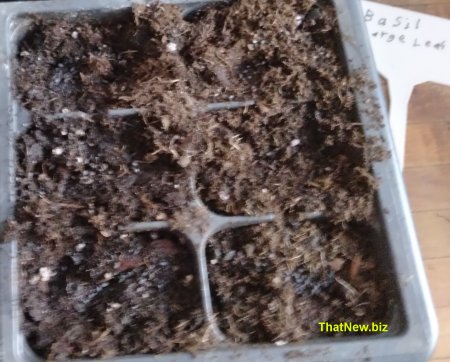
Basil and Eggplant |
|
| This week I planted some eggplant seeds.
|
|
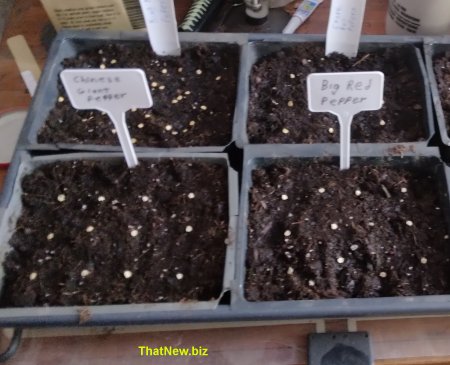
Peppers for 2024 |
|
| Peppers for 2024 It is February 24th and time to start
planting pepper seeds for this year’s pepper seedlings.
Seedlings should be planted 12 to 18 inches apart.
Seedlings should be planted 12 to 16 inches apart.
|
|
| For more post from 10/27/23 to 2/23/24 go to https://thatnew.biz/pg3.htm email garys blog, your email may be added to our blog.
|
|
| I am 69 years old and have been doing websites for over 25 years. My first website is WESTNY.com . I had a website business GLASSMARBLES.com for about 22 years. I had to stop that business because of my health. I have to use a walker to get around so I am limited to what I can do. I am doing a blog on this site THATNEW.biz. I am going to use this because I already own THATNEW.biz and going to use it as a blog. I use to do gardening, keep bees, building things and other things. This will give me something to do to keep my mind active. I hope this will give you insight to what older people like to do. 12/12/2022 | |
| Bookmark and stop back soon. Share this blog with your
friends. |
|